For the last half a year I've seen a lot of curly hair things on the internet specifically the Curly girl method. I figured some more defined curls would look good on me so I decided to try it out and document my results.
As a starting point my hair is wavy and loosely curled when wet after some tests I concluded that it's also lowporosity and has thick strands.
So what is the CGM I'm lazy so rather than reading a lot of different blogs I asked chatgpt to do it for me. Basically it's things you can do to get more curls and to have them survive for longer. Reading through it I did things several things that I already do although for different purposes.
1 prewash detangle your hair with a wide tooth comb
This is something I already do and don't feel the need to change. Though my main reason for detangling my hair before showering has more to do with limiting the amount of hair stuck in the drain.
2 washing use a shampoo without sulfates or silicones
So, there is several ingredients that weighs down your hair I used the curlsbot to check the ingredients before my experiment.
3 same with conditioner
I don't usually use conditioner, I've never really seen much difference weather I use it or not. But for this I'll get one and try.
4 apply gel while wet
This is to not loose the curls while the hair dries. Reddit recommended I use aloevera gel for this. I have a vague idea that its skincare properties will translate to hair, maybe? My sister on the other hand who has also gone into the CGM rabbit hole recommended something called Ecogel.
5 air dry
Again I already do this mostly cause I'm lazy
7 refresh mist with water and scrunch waves into place
This is things to do the next day.
8 other
There is a few other things one can do like sleeping on a silk pillow case or with the hair in pony tail on top of head. I tried the second one but it was very uncomfortable and I value my sleep more than my hair so we shan't be doing this.
9 time
So chat gpt said nothing about this but some googling turned up that it might take some time to show results.
The experiment
My plan is to try these things out one at a time to see what will make a difference starting with shampoo and conditioner. I'm going to try each for a month and see what difference it made.
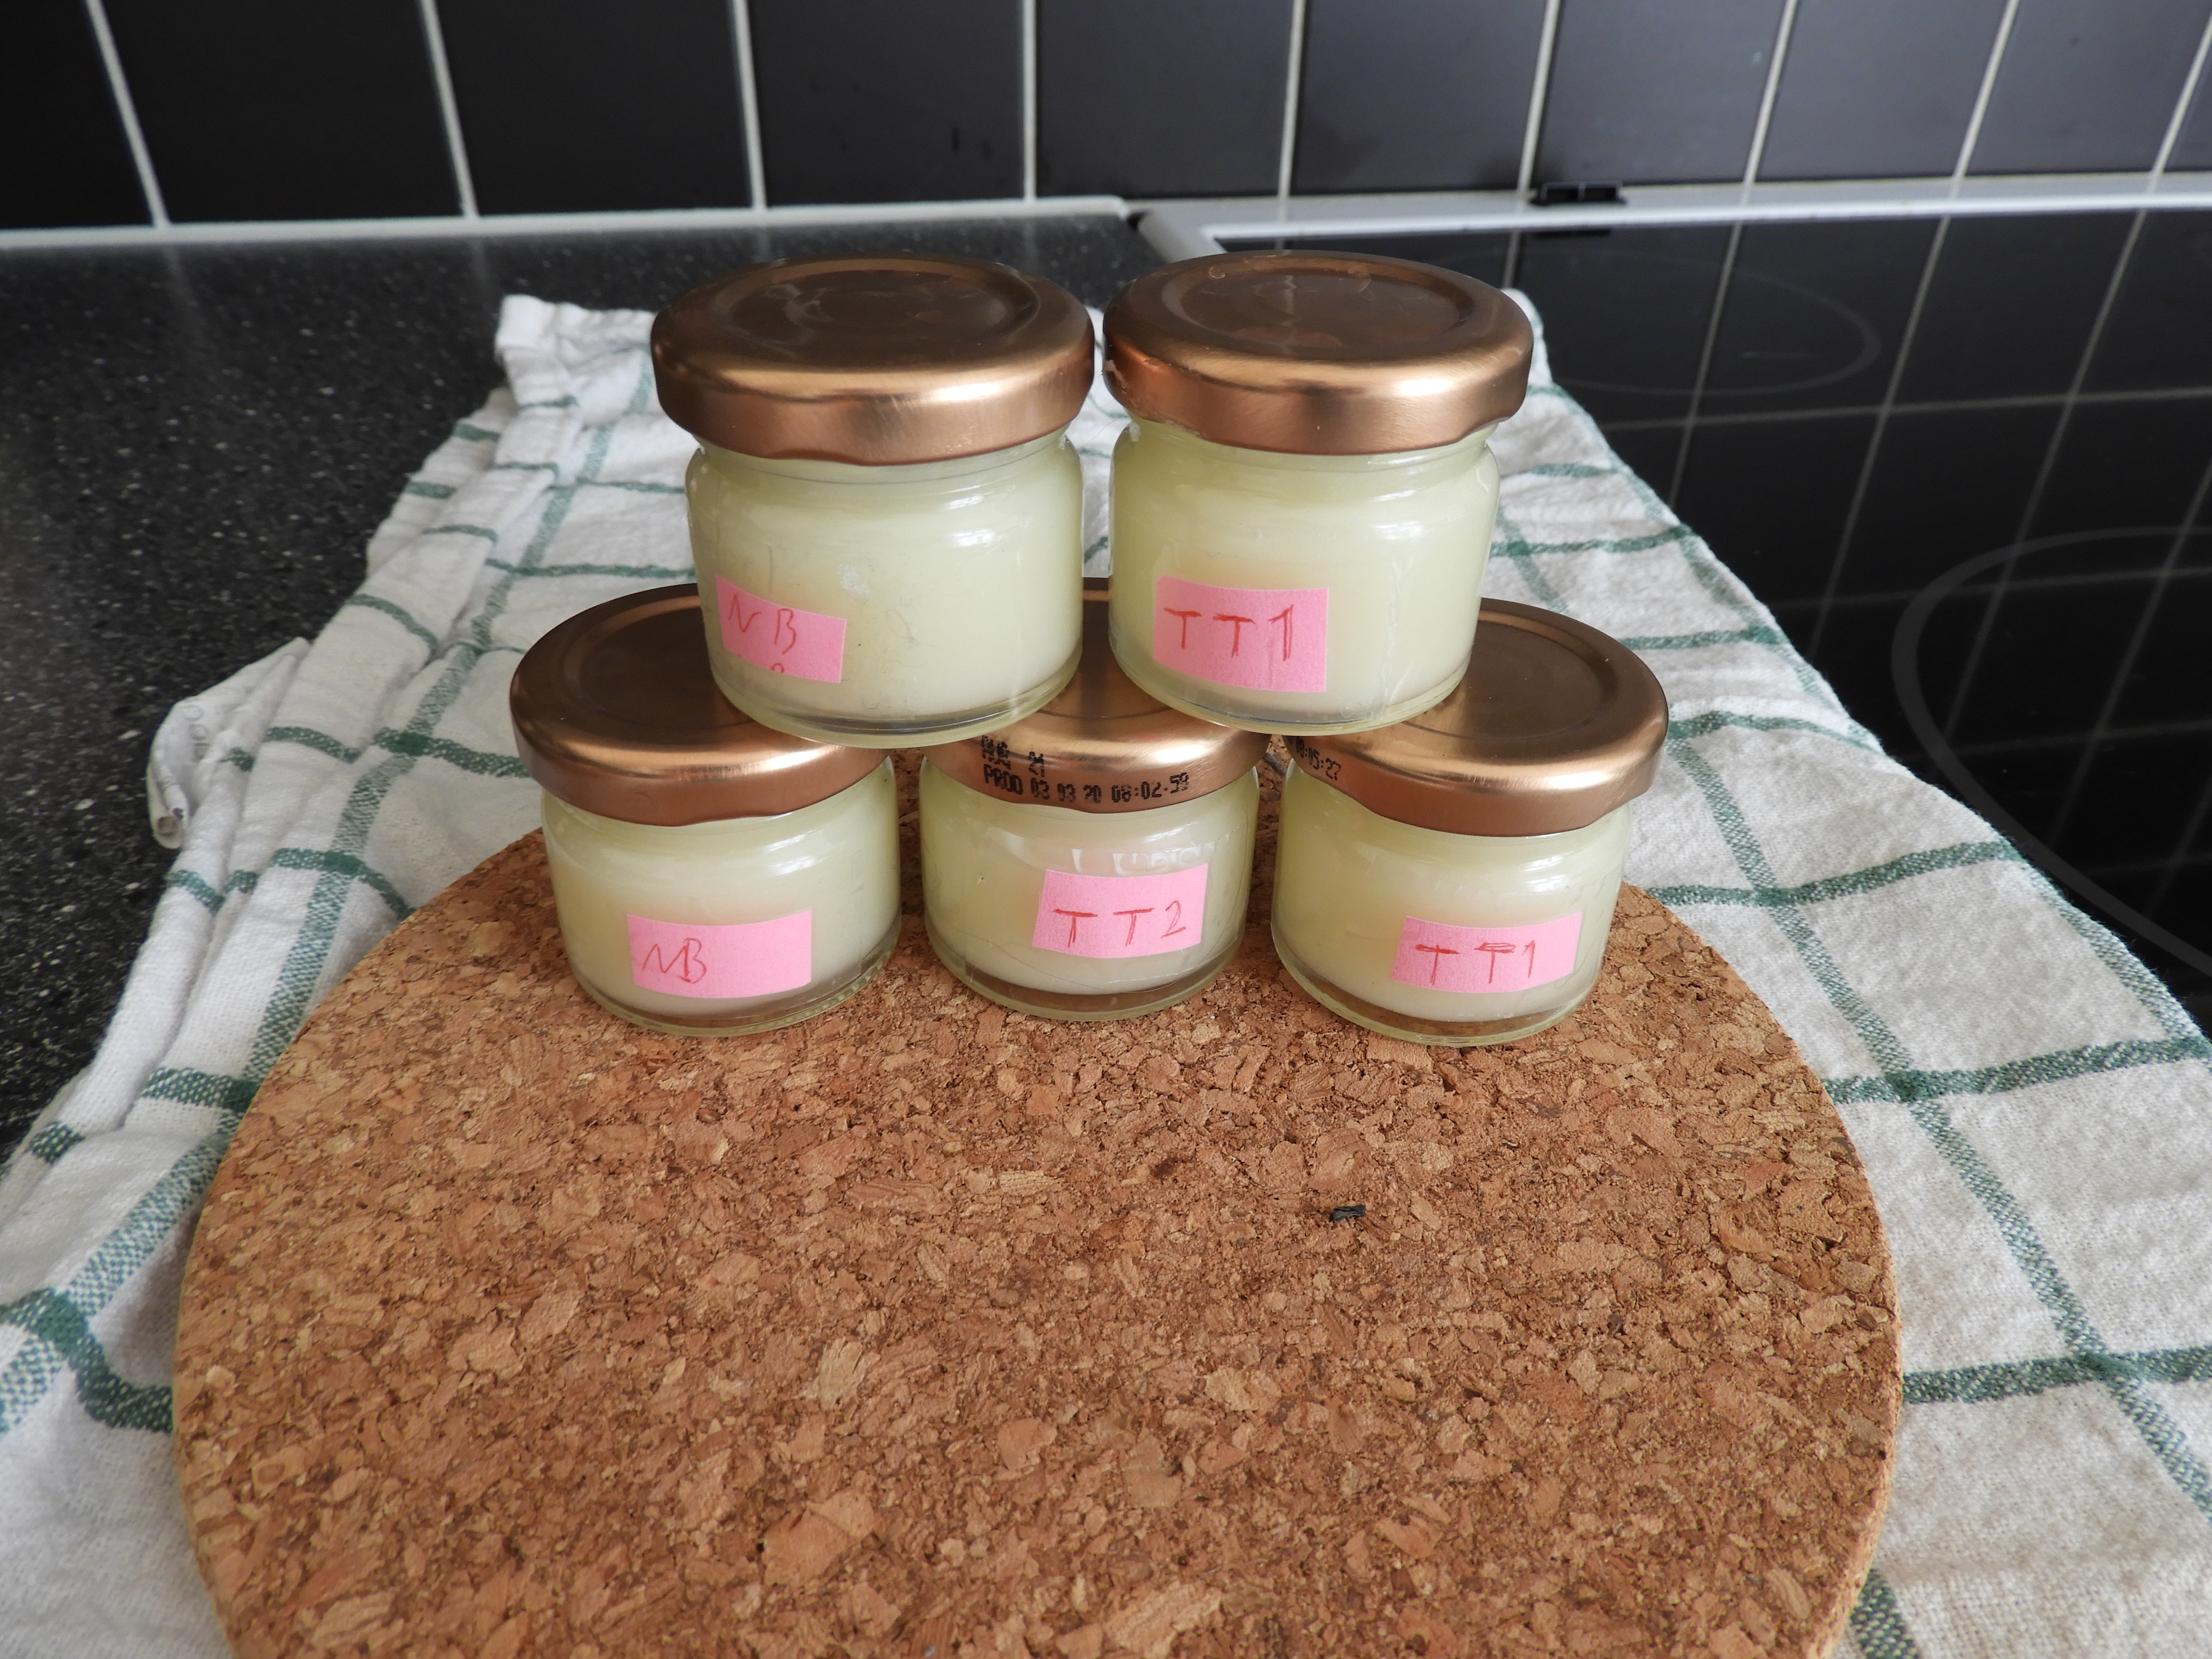
For this I have 3 different shampoos.
Garnier solid shampoo, with forbidden ingredients.
By Viera curl shampoo, This should be specific for curly hair and has only approved ingredients.
Friendly lavender and teatree bar, this is not specifically for curls but it doesn't have any of the forbidden ingredients (after an update to the curlsbot it now has some but it's too late to change) and I already had some.
The fact that two of them are shampoo bars might be a problem but I prefer them and haven't found anything that suggests it would make a difference.
To this I'll add conditioner TRESemme flawless waves and Aussie three minute miracle.
Month 1
First out was the friendly bar and the Aussie conditioner.
The results was distinctly mid. My hair is wavy but not more or less then it always is. It is more greasy though unpleasantly so though it isn't really visible.
Month 2
Garnier time and still doing the Aussie conditioned.
Testing them I get some unexpected results the Friendly one leaves my hair greasy and full of build up. The Garnier doesn't something about the shampoo makes the conditioner stick so my hair so really soft. It is a little dry so I added a few drops of hair oil to the ends.
It doesn't make it curly but it's nice and I considered getting more of it only to realize that it is apparently out of stock everywhere.
Month 3
Curly girl time with the By Wiera and TRESemme.
This is sort of in the middle a bit greasy but not much and again no change in the curls. The By Wiera is wierdly gelatinous but it's fine.
Results
At the end of every test month I took a picture of my hair. This is my hair washed with shampoo and conditioner, air dried and nothing else. Looking at them now month two does have nicer curls but not to an extent that I cant say it's because of the length. In general this is not at all what the results should be according to CGM.
With results like these I think I'm going to give up on this use up my leftover shampoo and then try to get a hold of something like the garnier bar.
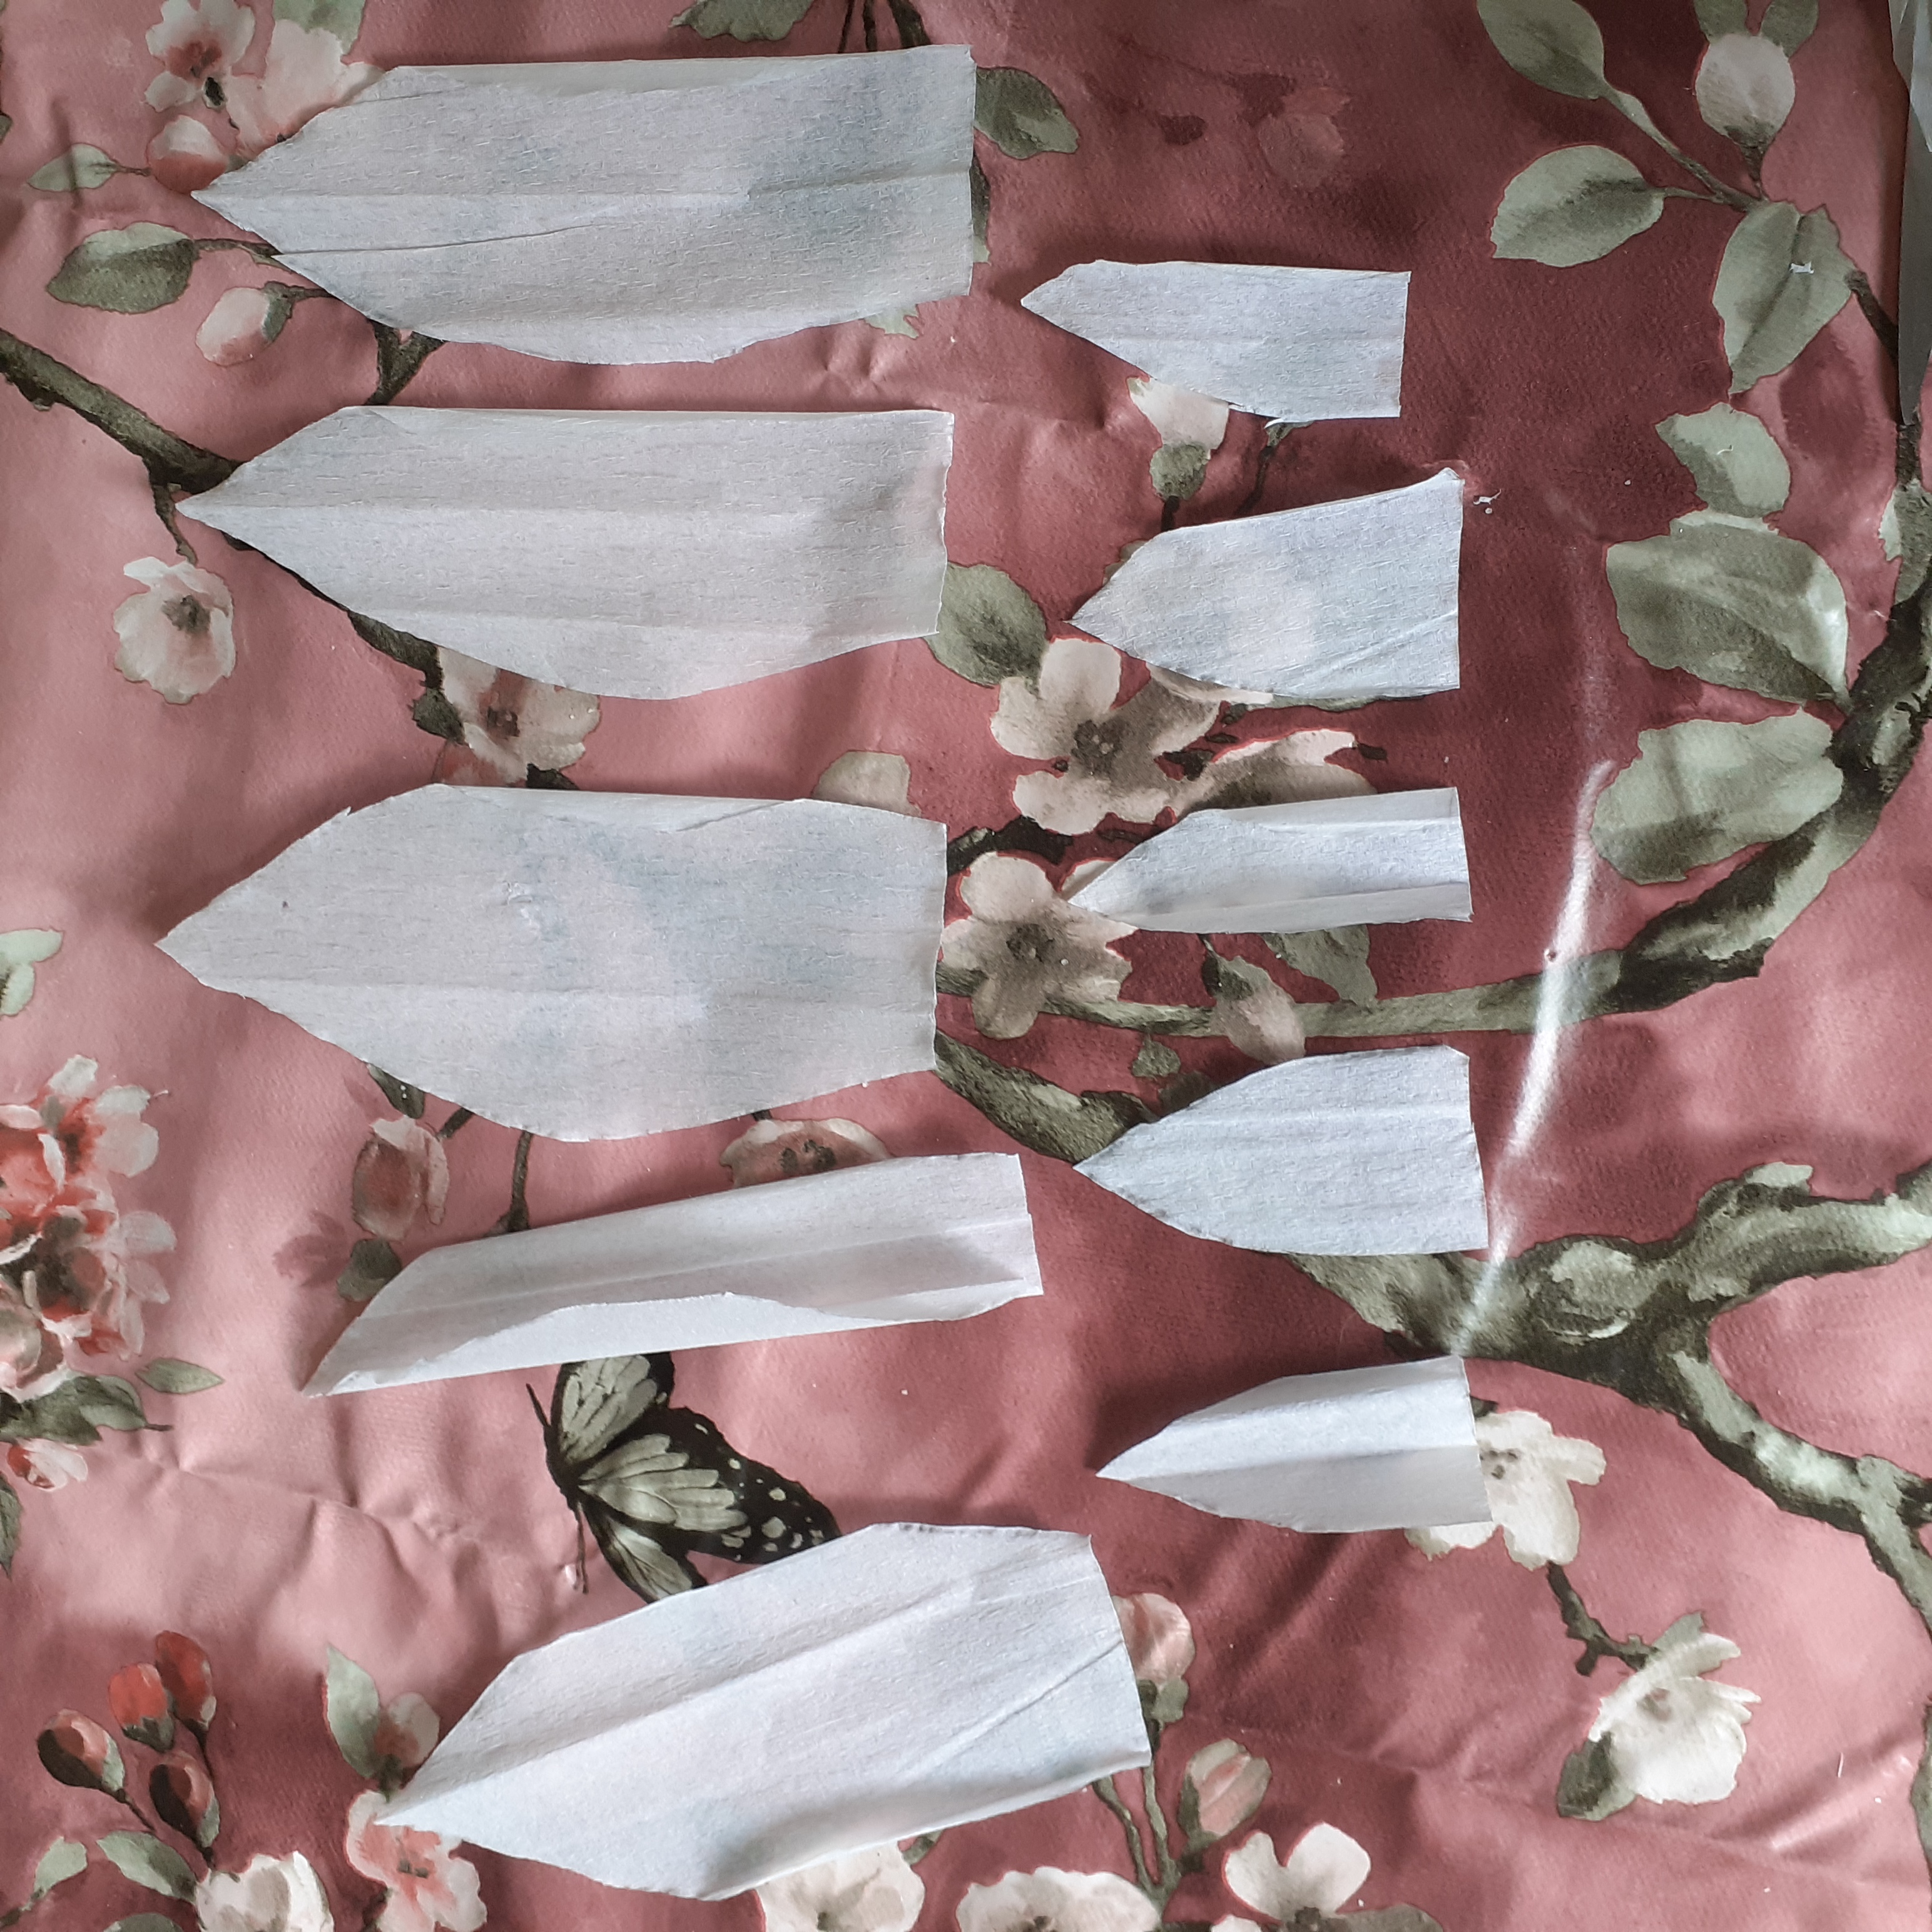
As for the gels the eco gel that my sister recommended worked well and the aloe vera did nothing.


 Results